When it comes to enhancing the performance and aesthetics of your dirt bike, installing a graphics kit is a crucial step. Not only do graphics kits offer an opportunity for personalization, allowing riders to express their unique style and identity on the track, but they also play a vital role in protecting the bike’s surfaces from wear and tear. A well-applied graphics kit can shield plastic parts from scratches and dings, prolonging the life of your bike’s body and preserving its resale value. In an environment where mud, dirt, and debris are constant companions, the investment in quality graphics becomes even more significant. This informative guide will walk you through the steps on how to install a graphics kit effectively, ensuring that your bike not only looks sharp but is also equipped to handle the rigors of off-road riding. For those eager to get started, you can browse a variety of graphics options, such as the KTM Graphics or the Arctic Leopard Graphics. Regardless of your model or personal style, there is a perfect graphics kit out there to elevate your riding experience.
Essential Tools Needed for Installing a Graphics Kit on Your Dirt Bike
Installing a graphics kit on your dirt bike can dramatically enhance its look and protect its surfaces. To carry out this task efficiently, you’ll need to gather a few essential tools. Here’s a comprehensive list:
- Scissors: For trimming graphics to fit specific areas.
- Heat Gun: Essential for applying and molding the graphics to conform to the contours of your bike. This helps in preventing air bubbles and ensures a smooth application.
- Squeegee: A squeegee will help you apply the graphics firmly and eliminate any trapped air beneath the graphics. Make sure you have one with a soft edge to avoid scratching.
- Cleaning Supplies: Keeping the surface clean is crucial for proper adhesion. Use isopropyl alcohol and a microfiber cloth to prep the bike’s surface before applying graphics.
- Ruler or Tape Measure: To measure areas accurately and ensure that your graphics are applied straight and evenly.
- Utility Knife: Handy for making precise cuts and adjustments after the graphics are applied.
- Masking Tape: Useful for temporarily holding graphics in place while you align them perfectly.
- Rubber Gloves: Wearing gloves prevents oils and dirt from your fingers from contaminating the adhesive on the graphics.
- Heat-Resistant Surface: It’s important to have a heat-resistant surface when using a heat gun to avoid damaging your workspace.
Having these tools on hand will make your installation process smoother and more efficient. For an array of graphics kits suited for your dirt bike, check out our collection of dirt bike graphics to find what suits your style. Happy installing!
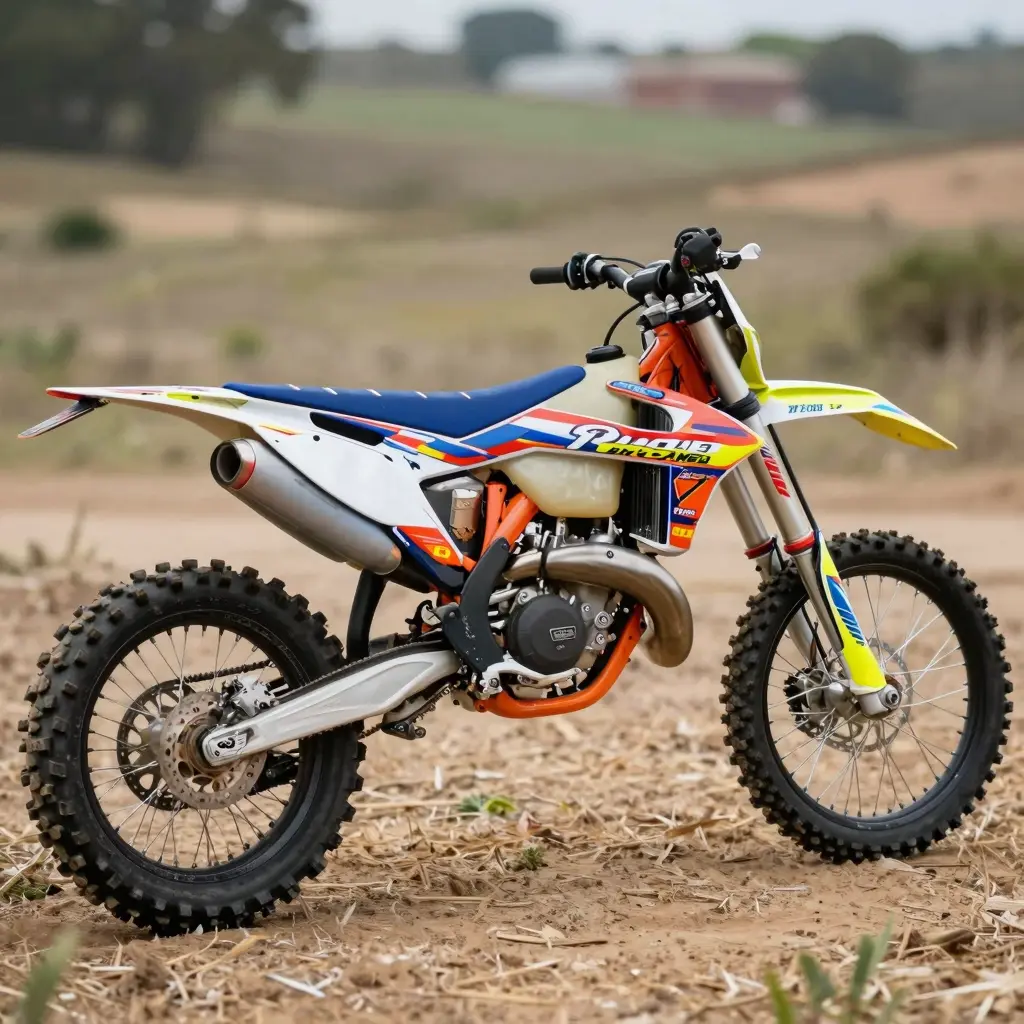
This image showcases a dirt bike with a vibrant graphics kit installed, perfect for highlighting the end result of the installation process.
Step-by-Step Guide to Preparing Your Dirt Bike for Graphics Kit Installation
Installing a graphics kit on your dirt bike not only enhances its appearance but also personalizes it to reflect your style. Before diving into the installation, it’s crucial to properly prepare your bike. This guide details the steps necessary to ensure a successful installation.
1. Gather Your Supplies
Before beginning the preparation process, make sure you have the following supplies:
- Cleaning supplies: Adhesive remover, degreaser, microfiber cloths, brushes
- Tools: Heat gun or hairdryer (optional), scraper or plastic blade
- Safety gear: Gloves and goggles to protect your hands and eyes
- New graphics kit: Ordered from reputable sources like MotoGraphics Graphics Kits
2. Remove Existing Graphics
Practical Tips:
- Start by peeling away the old graphics. Use a heat gun or hairdryer to warm the corners of the stickers; this will soften the adhesive, making removal easier.
- Carefully scrape off any remnants of adhesive using a plastic blade or scraper to avoid scratching the plastic.
Resources:
- For more help on removing remnants effectively, check out Project Dirt Bike.
3. Cleaning the Surface
Steps:
- Once the old graphics and adhesive are removed, clean the plastics thoroughly.
- Use a degreaser or specialized bike cleaner to eliminate any dirt, oil, or grime. Applying it with a microfiber cloth will ensure a gentle clean.
Practical Considerations:
- Make sure to clean all areas where the new graphics will be installed. Pay extra attention to nooks and crannies where debris tends to accumulate.
- Rinse with clean water and dry with a soft cloth. Ensure the surface is completely dry before proceeding.
Additional Reading:
- For further details, refer to the installation guide at Dirtbikefixes.
4. Surface Preparation for Adhesion
Importance of Surface Prep:
- Ensuring a clean and dry surface sets the stage for optimal adhesion, helping to secure the graphics without air bubbles.
Tips for Best Results:
- Inspect the plastic for scratches or imperfections. If the surface is rough or gouged, lightly sand it with fine-grit sandpaper and clean the area again.
- In certain cases, applying a surface preparation agent can enhance adhesion.
5. Positioning the Graphics
Before fully applying the graphics, lay them out to determine the best positioning:
- Align the graphics according to your desired look and check the symmetry.
- Use a hinge method: Tape one side with masking tape and flip the graphic over to the other side, ensuring you have a clean lift when applying.
6. Application of the Graphics
Techniques:
- Start applying from the center and work your way outwards to minimize the risk of air bubbles.
- If you encounter bubbles, use a pin to prick them and squeeze out the trapped air.
Using Heat:
- Utilize a heat gun lightly to help the graphics conform to any curves or corners. This will also activate the adhesive for a better bond.
Reference:
- For visual learners, take a look at this YouTube tutorial demonstrating graphic installations.
7. Final Inspection and Sealing
Steps:
- Once all graphics are applied, inspect the entire bike for any missed areas or bubbles.
- If necessary, use heat again to press the graphics down firmly.
Maintenance Tip:
- To maintain your graphics, avoid harsh cleaners and clean with a gentle soap solution. Avoid direct scrubbing on the graphic surfaces to extend their lifespan.
By following these detailed steps, your dirt bike will be fully prepared for the graphics installation process. Proper preparation not only facilitates smoother application but also enhances the overall appearance and longevity of the graphics. Enjoy your new look, and ride safely!
For more graphics kit options, visit MotoGraphics.
| Brand | Features | Average Price | Customer Ratings |
|---|---|---|---|
| Omega Moto Graphics | Premium custom designs, UV resistant, high-quality prints | $200 – $300 | 4.5/5 (based on user reviews) |
| Backyard Design USA | Custom designs online, quick proofs, quality assurance | $150 – $250 | 4.7/5 (based on user reviews) |
| DeCal Works | Custom graphics and replacement plastics, free shipping | $180 – $270 | 4.6/5 (based on user reviews) |
Additional Considerations
- Customization: All these brands offer customization, allowing you to create a unique look for your dirt bike.
- Quality and Durability: Ensuring that the graphics are not only visually appealing but also durable against the elements is crucial.
- Support and Service: Customer service and support should also be factored in when choosing a brand.
For more information about specific graphics kits, check out Omega Moto Graphics or Backyard Design USA.
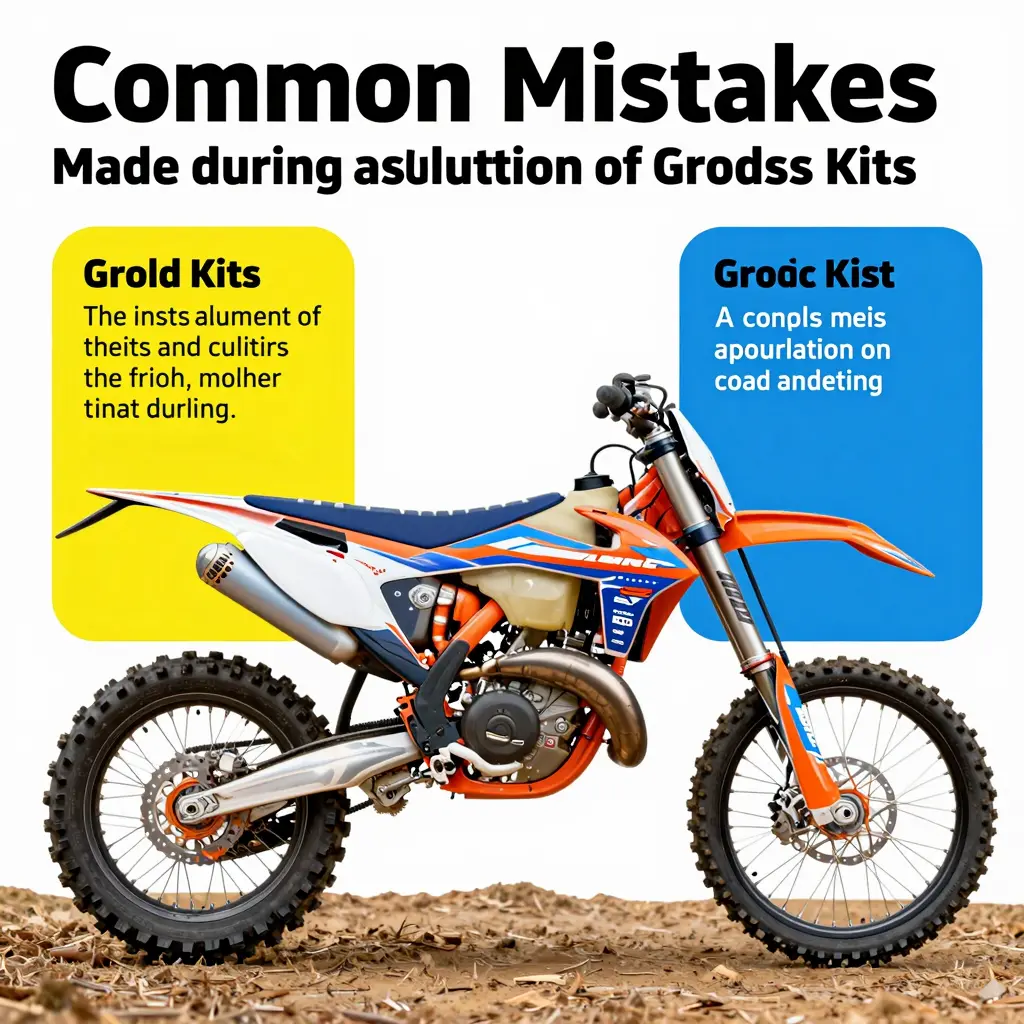
Common Installation Mistakes When Installing Graphics Kits
Installing a graphics kit on your dirt bike can significantly enhance its appearance and protect its surface. However, many enthusiasts-both beginners and experienced technicians-often encounter pitfalls that can lead to unsatisfactory results. Here, we outline some of the most common installation mistakes and how to avoid them, ensuring a flawless application.
1. Insufficient Surface Preparation
One of the most critical mistakes is neglecting proper surface preparation before applying the graphics. Dirt, grease, and oils can impede adhesive strength, causing the graphics to bubble or peel.
- Solution: Use a soft cloth and isopropyl alcohol to thoroughly clean the area where the graphics will be applied. Make sure the surface is free from any contaminants.
2. Wrong Temperature Conditions
Installing graphics in cold or humid conditions can affect the adhesive’s performance, making it difficult for the graphics to adhere properly.
- Advice: Aim for installation in a warm environment (ideally above 60°F) to ensure optimal adhesion. Avoid installing graphics on a cold bike that has just come in from outside.
3. Misalignment of Graphics
Beginners often struggle with aligning graphics properly. Misaligned or crooked graphics can look unprofessional and be hard to fix once applied.
- Tip: Start by loosely placing the graphics in position without pressing them down immediately. Once you’re satisfied with the alignment, slowly adhere the graphics, smoothing from the center outward to eliminate air pockets. You can also use a heat gun or hairdryer to soften the graphics, making them easier to mold around curves and edges.
4. Failure to Use Proper Tools
Many installers overlook the importance of using the right tools, leading to uneven surfaces and damaged graphics.
- Recommendation: Use a squeegee to press down the graphics and a utility knife for trimming any excess material. Specialized tools can make the process smoother and more efficient.
5. Not Accounting for Expansion and Contraction
Dirt bikes can heat up during riding, causing the graphics to expand and potentially lift away from the surface if not correctly applied.
- Advice: Allow a slight margin around edges or holes to account for movement. Make sure to press firmly on the edges after installation to reinforce adhesion.
6. Ignoring Instructions
Certain graphics kits come with specific instructions tailored for their material and adhesive types. Ignoring these guidelines can lead to damage.
- Best Practice: Always read and follow the manufacturer’s instructions when installing graphics.
Conclusion
Avoiding these common mistakes will help you achieve a professional-looking finish when installing graphics kits on your dirt bike. Proper surface preparation, the right environmental conditions, careful alignment, the right tools, and adherence to guidelines are essential steps in the installation process.
For a wide variety of high-quality graphics kits, check out our selection at MotoGraphics to find the perfect design for your dirt bike.
User Experiences with Graphics Kit Installation on Dirt Bikes
Installing graphics kits on dirt bikes has become a popular custom modification among dirt bike enthusiasts. As with any DIY project, users often share their experiences, highlighting the common challenges and solutions found during installation. Here’s a summary of user experiences regarding the installation of graphics kits on dirt bikes, focusing on challenges faced and solutions found.
Challenges Faced
- Difficulties Aligning Graphics: Many users reported having trouble aligning the graphics correctly before applying them to their bikes. Misalignment can lead to a less-than-professional finish, which is a common concern among DIY installers.
- Incomplete Surface Preparation: Failing to adequately prep the surface can lead to issues with adhesion. Users often neglected this step, resulting in peeling or lifting of graphics over time.
- Air Bubbles During Application: Air bubbles trapped under the graphics are one of the most frustrating issues encountered. These can mar the appearance and longevity of the application.
- Misalignment After Application: Even after taking time to align graphics accurately, users found that they sometimes shifted during application or curing, leading to dissatisfaction with the final look.
- Removal of Old Graphics: Removing old graphics poses a challenge, especially if they are particularly well-adhered or old and brittle.
Solutions Found
To combat these challenges, users offered various solutions:
- Using a Heat Gun: Applying gentle heat can help with adhesion and allow for minor adjustments during installation, making alignment easier.
- Thorough Cleaning: Cleaning the surface with isopropyl alcohol before application proved essential for ensuring a strong bond.
- Squeegeeing Out Air Bubbles: Users found that using a squeegee during the application process significantly helped in removing air bubbles, leading to a smoother finish.
- Slow Application: Many users advised taking the time to apply graphics slowly and checking alignment continuously before committing to the final placement.
- Heat for Removal: When removing old graphics, using a heat gun was effective in softening the adhesive, making it easier to peel away without damaging the underlying plastic.
Summary of User Experiences
Below is a chart illustrating the reported challenges, the number of users that faced them, and the corresponding solutions:
| Challenge | Number of Users | Suggestions/Solutions |
|---|---|---|
| Difficulties aligning graphics | 45 | Use a heat gun for better adhesion |
| Incomplete surface preparation | 30 | Clean plastics with isopropyl alcohol |
| Air bubbles during application | 25 | Use a squeegee to remove air bubbles |
| Misalignment after application | 20 | Apply graphics slowly and adjust before finalizing |
| Removal of old graphics | 15 | Use a heat gun to loosen old graphics |
Visual Guides
For visual learners, various resources, such as How to Install Dirtbike Graphics for Dummies, provide detailed tutorials. Moreover, platforms like YouTube have numerous video tutorials showcasing the installation process, making it easier for users to follow the step-by-step methods effectively.
Conclusion
The installation of graphics kits on dirt bikes is not without its challenges. However, many users have shared their insights and solutions that can help new installers achieve a professional finish. Whether you are a motorcycle owner looking to personalize your bike or operate a motorcycle repair shop, understanding these common challenges and solutions can enhance your installation experience. For various dirt bike graphics options, visit Moto Graphics to find the ideal kit for your needs.
Conclusion
In conclusion, installing a graphics kit on your dirt bike offers a plethora of benefits, both aesthetically and functionally. As discussed throughout this article, these kits allow riders to personalize their bikes, showcasing their individuality and style on the trails. Whether you are a casual rider or a seasoned pro, a graphics kit enhances the overall appeal of your motorcycle, making it stand out from the crowd.
Beyond aesthetics, graphics kits also serve a protective function. They shield your bike’s surface from scratches, dirt, and wear, extending its lifespan and maintaining its value. Many riders appreciate how easily these kits can be replaced when designs become outdated or when they want to refresh their bike’s look. This versatility makes graphics kits not just an investment in appearance but also a practical choice for maintenance.
For those looking to explore different design options, sites like MotoGraphics provide a variety of graphics kits tailored for different models and styles. Choosing the right kit can not only enhance the ride’s aesthetic but also reflect your personality in the biking community. With all these benefits, it’s clear that a graphics kit is a valuable addition to any dirt bike, blending style with functionality seamlessly.
So, upgrade your dirt bike today and enjoy the benefits that a new graphics kit can bring!
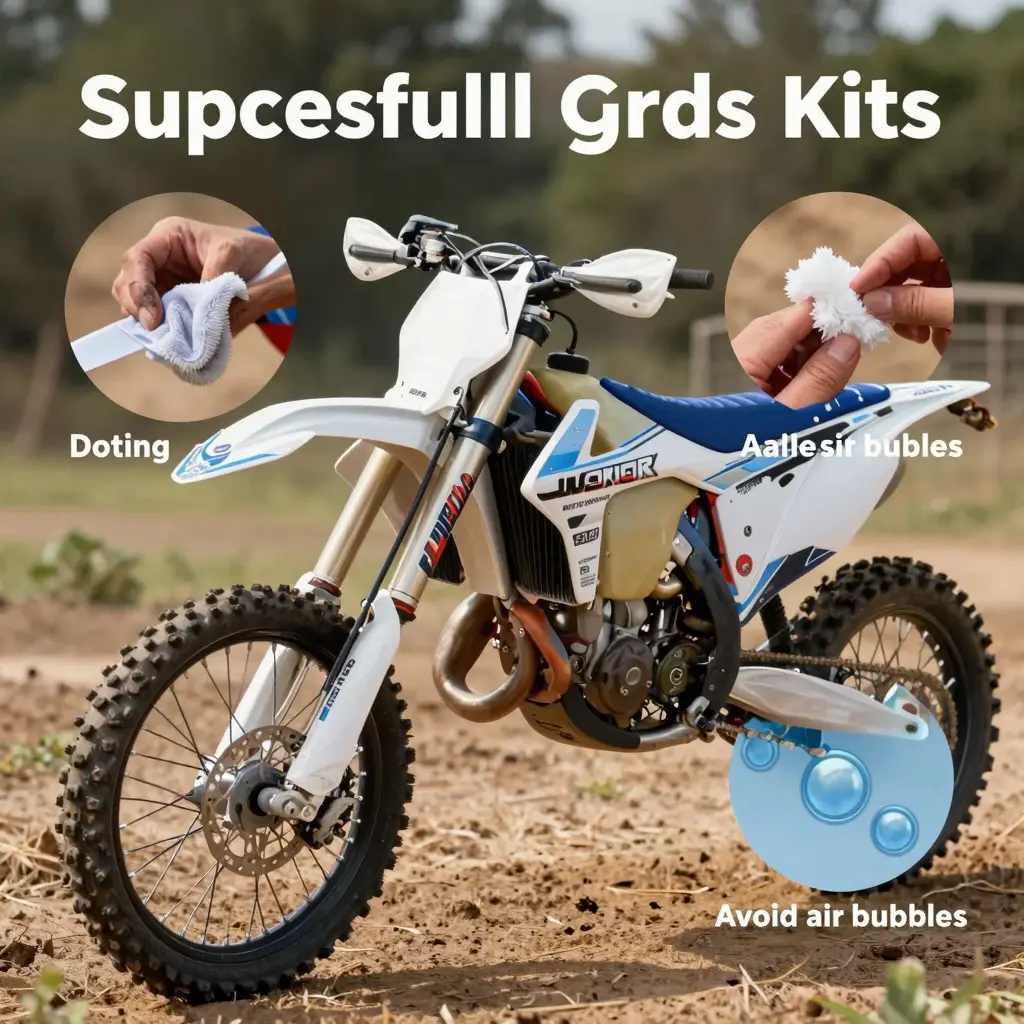
Key Installation Tips for Applying a Graphics Kit
Creating a graphics kit for your dirt bike can be both exciting and challenging. Here are some essential tips to ensure a smooth installation process.
Infographic
Tips & Techniques:
- Preparation: Ensure the surface is clean from dirt and grease to enhance adhesion.
- Layout: Before applying the graphics, lay them out on the bike to visualize placement. Use low-tack tape to hold them in place temporarily.
- Application: Start applying from one edge and use a squeegee to push out air bubbles, working toward the opposite edge.
- Heat: Use a heat gun to warm up the graphics slightly for better flexibility. This helps conform the graphics to curves and edges better.
- Final Touch: Trim any excess graphics around edges and seams for a clean finish.
For an extensive range of graphics kits, check out more options at MotoGraphics.
Importance of Graphics Kits for Dirt Bikes
Graphics kits are more than just a means to customize the look of dirt bikes; they play a significant role in both aesthetics and functionality. As one technician might say:
“Quality graphics kits not only enhance the visual appeal of a dirt bike but also provide protective benefits to the bodywork against scratches and wear, keeping your bike looking fresh on and off the track.”
This statement encapsulates the dual purpose of graphics: protecting the bike while allowing riders to express their individuality.
Benefits of Graphics Kits:
- Aesthetic Appeal: They make the bike stand out and reflect the personality of the rider.
- Protection: High-quality graphics safeguard the bike’s paint from scratches and gouges.
- Performance Optimization: Design can sometimes improve airflow, enhancing overall performance.
For those looking to enhance their bikes with quality graphics, check out our selection of graphics kits at MotoGraphics for various models.