In the vibrant world of food trucks, rolling paint signifies not only creativity but also the essential standards for food safety and hygiene. To achieve a flawless and compliant finish, enthusiasts from various backgrounds, including hobbyist modifiers and professional tuners, need to navigate the specifics of the painting process. This comprehensive guide will take you through the vital phases of rolling paint on food trucks, from understanding project scope and selecting suitable paint systems to executing techniques that guarantee a high-quality finish. Each chapter is designed to enrich your knowledge and ensure that your food truck not only stands out visually but also adheres to industry standards, making it both an aesthetic masterpiece and a culinary hub on wheels.
From Scope to Surface: Charting the Painted Path for a Food Truck
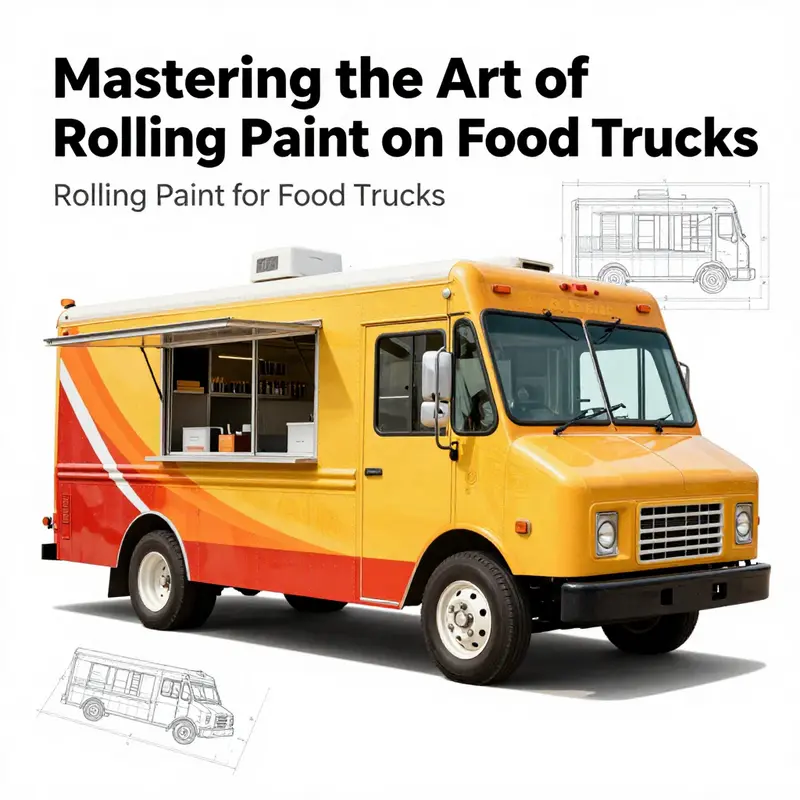
Charting the painted path for a food truck starts long before a spray gun meets metal. It begins with a precise project scope that translates a mobile kitchen into a resilient moving canvas. In practical terms, the external shell—where weather, road debris, and UV exposure relentlessly test coatings—demands a level of protection that preserves color and integrity through countless miles and sunlight. The internal walls, exposed to humidity, steam, and frequent cleaning, require coatings that stand up to wipe-downs without harboring bacteria. The worktops, meanwhile, face direct contact with food, knives, and hot equipment, so they demand compliance with food-safety standards and a surface that lends itself to routine sanitization. Put together, these zones amount to roughly eighty-five square meters of painted surface spread across external panels, internal walls, ceilings, and work surfaces. The goal is not merely a glossy finish but a durable, hygienic, brand-consistent platform that travels with the business. The numbers—external 42㎡, internal 30㎡, ceiling 8㎡, and worktops 5㎡—frame a concrete reality: every millimeter of coating must be chosen and applied with the truck’s life on the road in mind. The scope, therefore, is both a physical map and a design brief. It determines the material system, the number of coats, surface preparation, and even the cadence of curing. It also anchors a brand strategy, since the paint is a moving advertisement as well as a protective shield. When done well, the finish communicates reliability and quality as clearly as a menu board, while remaining robust enough to resist chipping from door slams, bumpers, and the rigors of daily service. In this sense, scope is not a mere planning step; it is the unifying thread that ties engineering, hygiene, and marketing into a single, road-tested standard. For operators who want to extend this logic into the branding realm, the painting decision becomes a chance to translate values into visibility. A well-chosen color palette, a legible typographic treatment, and a durable finish can turn a curbside stop into a memorable experience. The project scope must therefore encompass both technical requirements and the business narrative each truck carries. The result is not just a coated vehicle but a moving storefront designed to endure while inviting customers to explore what’s inside. In practice, this means treating the external and internal surfaces as separate, interdependent systems. The external metal shell faces weather and abrasion, so the coatings are selected for weather resistance and UV stability over time. The internal walls and ceilings, by contrast, operate in a high-humidity environment where hygiene and cleanability are paramount. The worktops demand a food-grade, abrasion-resistant surface that stands up to repeated cleaning. The scope thus becomes a decision matrix: how to balance durability, safety, and aesthetics across distinct zones while safeguarding compliance with food-safety standards. The design approach then flows from this matrix, guiding color choices, graphic layout, and branding consistency across signage, logos, and interior branding. The project scope also embraces customization. Different food trucks serve different markets, and the paint system must mirror this. A fast-casual concept may benefit from bold, high-contrast graphics that grab attention at a distance and remain legible when the vehicle is moving. A gourmet truck might lean toward more restrained, minimalist aesthetics that project sophistication while still conveying warmth and approachability. In both cases, the coatings must perform under real-world conditions: frequent washing, occasional contact with moisture and oils, and exposure to road salt, heat, and sun. A practical way to address this is to define specific performance benchmarks early in the scope. For exterior surfaces, the system might require a zinc-rich primer to promote adhesion and corrosion resistance, followed by a polyurethane topcoat that resists chalking and UV degradation. The color choice—such as a deep gray or another high-visibility shade—should be paired with a finish that endures the elements while staying easy to clean. On interior faces, the emphasis shifts toward hygienic performance. A water-based epoxy primer with strong adhesion creates a stable base, followed by an antibacterial topcoat that reduces microbial growth in humid spaces. The anti-bacterial requirement, often validated by third-party testing, ensures the interior in a busy truck remains safer for food handling. The worktops present their own challenge: a food-grade epoxy coating capable of resisting abrasion, chemical cleaners, and impact, with a defined thickness that supports a dependable, non-slip surface. In all, the project scope is a blueprint for material selection, surface preparation, and application methods. It is the framework that keeps decisions aligned with food-safety standards and regulatory expectations while enabling the truck to function as an effective marketing vehicle. The scope also calls for a warranty and post-painting support. A one-year warranty on materials and workmanship is a common baseline, reflecting confidence in both the coating system and the workmanship that creates it. This warranty protects the owner from unexpected failures and provides an obligation to address surface defects that might compromise hygiene or durability. As much as the scope specifies products and procedures, it also prescribes inspection and governance. During the initial phase, engineers and paint specialists verify material certificates, test reports, and environmental certifications. The aim is to confirm that all products comply with low-VOC requirements and that antibacterial paints meet the specified durability. The goal is not to surprise the client with non-compliant coatings after a long journey to completion. Preparation matters almost as much as the coating itself. The surface must be clean, dry, and free of contaminants; rust and oxidation on metal surfaces need careful treatment before primers go on. The masking process becomes a technical discipline: windows, doors, seals, lights, handles, grills, and vents must be protected with precision using masking films and high-temperature tapes. When the painting begins, the base coats and topcoats must be applied with care. The recommended practice involves a spray technique that maintains a consistent standoff distance, uses overlapping passes, and avoids runs. Layering is deliberate: two to three thin coats typically outperform a single thick layer in terms of durability and finish. A clear coat can be added as optional protection for exterior surfaces, but the curing and handling must follow the specific system’s guidelines. Curing conditions then become part of the scope. Temperature, humidity, and airflow influence cure times and final hardness. The ideal range generally centers around moderate temperatures and stable humidity to minimize warping, cracking, or adhesion issues. After curing, a rigorous quality-control check confirms uniform color and texture, absence of pinholes, and proper adhesion. A tape test and hardness assessment help verify the coating’s integrity before the truck returns to service. Throughout this process, safety considerations remain paramount. Proper ventilation, PPE, and waste disposal protocols are integral to the scope. Preparing a mobile workspace that minimizes exposure to fumes while protecting operators yields safer, more consistent results. This is a practical realization of the broader design strategy: the finish must perform in the field while projecting a brand story that resonates with customers. The brand story, in turn, can be reinforced by a thoughtful integration of interior and exterior finishes, printing, and signage plans that align with the paint system chosen. To explore how branding considerations can complement the technical scope, one may consult industry discussions and case examples in the broader community, such as documented through industry blogs (for example, see blog-2). The synergy between scope and branding becomes a competitive advantage when the shop’s standards mirror the truck’s daily realities. Finally, the scope encompasses aftercare. Post-paint maintenance protocols, periodic inspections, and touch-up strategies ensure longevity. A scheduled check can catch early signs of wear, corrosion, or microbial growth. The aim is to intervene quickly to preserve both hygiene and appearance. When the scope is properly defined, every subsequent decision—from material selection to masking to curing—falls into place with fewer surprises. It becomes easier to train staff, schedule work, and budget realistically for the life cycle of the vehicle. In this sense, the project scope is the blueprint for a robust, market-ready paint job that travels as a faithful ambassador for the brand. For readers seeking further nuance on how branding, coatings, and regulatory considerations intersect in food-truck painting, the broader professional literature offers insights that complement this practical framework. blog-2 provides perspectives on branding integration and practical deployment in mobile venues. And for those looking to widen their horizon beyond the immediate scope, a recognized authority on coating standards and best practices offers comprehensive guidance on industrial and commercial vehicle finishes. External reference: https://www.britishcoatings.org/.
null
null
Preparing the Surface: Practical Pre-Construction Steps for Rolling Paint on a Food Truck
Preparing the Surface: Practical Pre-Construction Steps for Rolling Paint on a Food Truck
Before a single roller or spray gun touches metal, successful food-truck painting begins with disciplined preparation. The goal here is simple: create a clean, sound, and documented substrate that will accept paint, resist frequent cleaning, and meet food-safety expectations. This chapter walks through the essential sequence — cleaning, sanding, rust treatment, primer selection, masking, and material verification — in a single, continuous narrative so you can move straight from planning to execution with confidence.
Start by defining the scope and collecting paperwork. Confirm every panel and interior surface to be painted: external bodywork, interior walls, ceilings, and worktops. Record approximate areas and conditions so you know how much primer and topcoat you’ll need and which systems to specify. Request factory certificates, test reports, and environmental certifications for each coating. For water-based paints, ensure VOCs meet the ≤100 g/L limit; for solvent systems, verify compliance with the stated maximum. Antibacterial and food-grade products must come with third-party lab reports and durability claims. These documents are not optional: they protect you and your customers and make compliance checks straightforward.
Next, arrange the preparatory workspace and timeline. Choose a dry day if possible and avoid direct sunlight during curing; interior bay work should be in a ventilated, weather-protected area. Provide heaters or temperature control when ambient temperatures fall below ideal ranges. Optimal conditions for drying and curing are 20–25°C with 50–70% relative humidity. Plan for surface preparation, priming, topcoating, and appropriate cure times so no step is rushed.
Surface cleaning is the first hands-on task and the most important one. Grease, oils, road grime, and residues from prior cleaners all block adhesion. Use a neutral or mild alkaline degreaser designed for automotive or industrial substrates and follow label directions. Apply cleaner, agitate with non-abrasive pads where needed, then rinse thoroughly with clean water. Allow the metal to dry fully. If you must speed drying, use filtered compressed air or warmed drying but avoid direct flame or open heat that could scorch seals or plastics.
Assess the condition of the existing paint and metal. Light sanding is appropriate for smooth, intact surfaces to create a mechanical key. Use coarser grit where old flaked paint or light corrosion exists, then progress through finer sandpaper — for example, start with 80–120 grit to remove defects and rust, then move to 240–400 grit for final smoothing. Avoid aggressive grinding that thins panels or creates sharp edges. Where oxidation or surface rust is present, remove it completely down to bare metal in the affected areas. Apply a rust converter or inhibitor to treated spots when appropriate, and follow with a light feather-sand to blend edges.
Phosphating is optional but recommended for steel parts. A zinc-based phosphating solution forms a conversion layer that improves adhesion and corrosion resistance. If you use phosphating, ensure the process is compatible with the primer you plan to apply and that all rinsing and drying steps are completed before primer application.
Primer selection is one of the most critical technical choices. For exterior metal panels exposed to weather and road salts, a zinc-rich epoxy primer provides superior corrosion protection and a durable base. For interior surfaces and work areas, choose water-based epoxy primers specified for adhesion (for example, adhesion ≥5 MPa) and compatibility with antibacterial or food-grade topcoats. Never skip primer to save time: it prevents peeling, enhances adhesion, and forms a barrier against contamination.
When planning primers and topcoats, always verify food-safety approvals for surfaces that will be in proximity to food. Worktops deserve special attention: select a food-grade epoxy system compliant with relevant regulations, and specify the required dry film thickness — for worktops this may be ≥1.2 mm — to withstand cleaning and abrasion. For interior walls that will be cleaned frequently and must resist microbial growth, use water-based antibacterial topcoats with certified antibacterial rates and documented durability.
Masking and protection are practical tasks that preserve functionality and save cleanup time. Remove detachable parts where possible: side mirrors, signage, trim, and handles simplify painting and reduce the need for masking. For fixed features, use 200µm PE film and high-temperature masking tape to protect windows, vents, seals, lights, and controls. Seal edges tightly to prevent overspray penetration. Keep protective coverings in place until topcoats are fully cured to prevent contact marks or adhesive transfer.
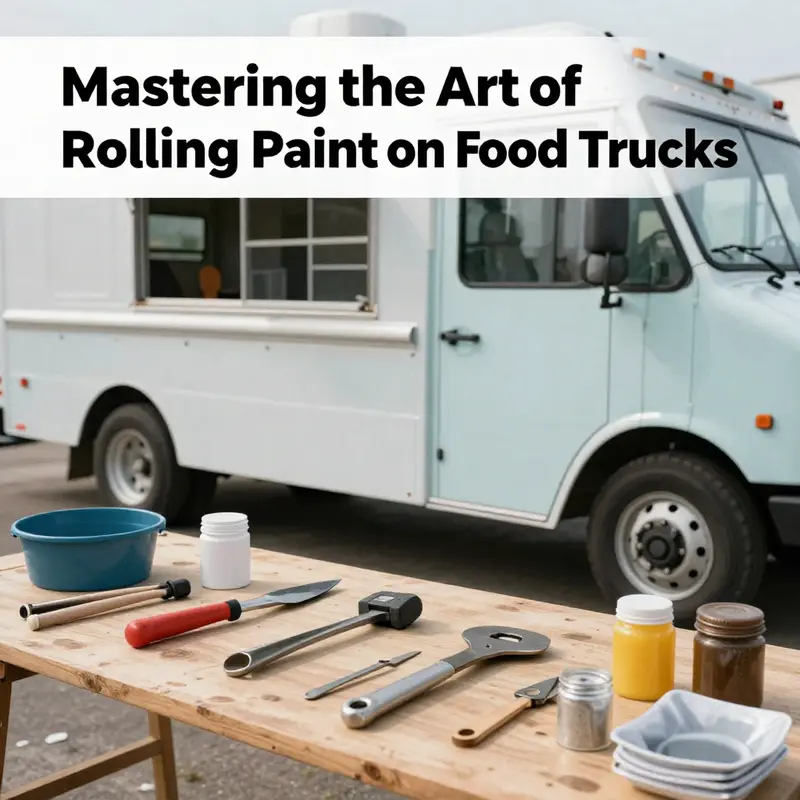
Configure your equipment according to the paint systems you selected. For airless spraying, choose nozzles in the 0.017–0.021 inch range for primers and topcoats intended for vehicle bodies. If HVLP or conventional spray guns are used for interior areas or small details, ensure regulators and cups are compatible with the coatings and thin them only as manufacturers recommend. Verify compressor capacity and maintain clean, dry compressed air to avoid moisture spots in the finish.
Establish clear safety and environmental controls before work starts. Ventilation is essential: paint fumes and solvent vapors can accumulate quickly. Use mechanical ventilation, open doors in a controlled way, or perform sprays in a booth. Require PPE for all personnel: respirators rated for paint vapors, gloves, goggles, and coveralls. Keep fire safety measures on hand and segregate flammable materials. Dispose of waste — rags, empty containers, sanding dust — in accordance with local regulations. Label containers and document waste handling for inspections.
Create a quality-control checklist to use before priming. Confirm the substrate is clean, dry, and scuff-sanded. Verify mill certificates and technical data sheets are on-site. Check ambient conditions and equipment setup. Test a small, inconspicuous area for adhesion after primer cures via a tape pull test or similar method agreed upon with the coating manufacturer. Record results and proceed only if they meet acceptance criteria.
Finally, plan for maintenance and touch-up access. When masking and priming, leave access points or removable panels available for future repairs. Keep a small amount of each batch of paint for touch-ups and label them with color codes and batch numbers. Document the final systems used and their cure schedules so handover includes clear cleaning and maintenance guidance for operators.
For guidance on vehicle types and body structures that affect preparation — including which panels are easiest to remove and how different chassis respond to coatings — consult resources comparing step vans and cargo vans used as food trucks. That discussion helps you anticipate common substrate challenges and plan removals and masking more efficiently: Step vans vs cargo vans for food trucks.
For a practical, technical reference that complements these preparation steps and provides broader painting guidance for food trucks, review this industry guide: https://www.foodtruckequipment.com/food-truck-painting-guide
With the preparation complete and documented, you are ready to apply primer and follow with controlled topcoating. Proper prep reduces the risk of peeling, contamination, and premature wear. It also shortens rework time and keeps the vehicle compliant with food-safety and environmental requirements.
From Prep to Prime: Mastering the Painting Process for Food Trucks
A food truck’s paint is more than color; it is a shield and a signature. The painting process must marry durability with hygiene and brand identity. When the vehicle sits under sun, rain, and the spray of steam and spices, the finish must resist weather, cleaning, and bacterial exposure. The steps from prep to cure are a continuous sequence: surface readiness, material choice, careful application, and disciplined quality checks. The goal is not merely beauty but long-term performance that keeps the truck looking fresh on crowded streets and festivals alike. This chapter walks through a cohesive workflow, drawing on professional practices and safety standards, to guide you from the first wipe-down to the final gloss or matte seal. In practical terms, the work covers external metal panels, interior walls, and even the work surfaces where food is prepared, plated, and served.
First, understand the project scope. The exterior metal surfaces, including body panels, cover roughly 42 square meters; interior walls about 30 square meters; the ceiling about 8 square meters; and worktops around 5 square meters. The total painting area sits near 85 square meters, a volume that must balance visual impact with resistance to the elements and with food-safety requirements. Each zone demands its own system, because exterior exposure calls for robust weather protection, UV stability, and corrosion resistance, while interior surfaces prioritize cleanability and microbial resistance. With these distinctions in mind, the team maps a painting plan that respects both the truck’s culinary function and its brand. The plan also anticipates daily handling, frequent washing, and the inevitable bumps of transit, so every layer contributes to a durable, cleanable, and appealing finish. A realistic schedule allocates time for each phase and quality assurance checkpoints ensure coating integrity before handover.
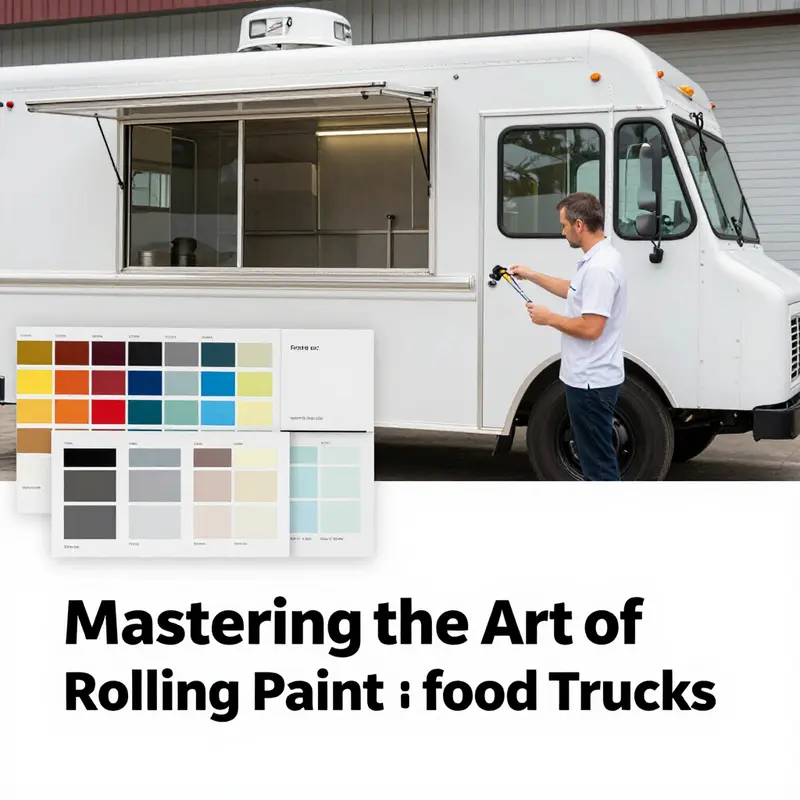
Material choices anchor this plan. For external metal surfaces, the recommended combination is an epoxy-zinc rich primer to establish corrosion resistance and a polyurethane topcoat for durability and clarity. The primer anchors the layer; the topcoat provides gloss or matte finish while resisting fading. Inside the truck, the choice shifts toward a water-based epoxy primer with a water-based antibacterial topcoat. The antibacterial layer, with efficacy above 99.9 percent, must meet standards and may require third‑party testing to verify durability. Colors carry meaning: deep gray for exterior strength and beige for interior warmth. For worktops, a food-grade epoxy coating compliant with FDA 21 CFR 175.300 is essential, creating a smooth, anti-slip surface that withstands frequent cleaning. Add anti-slip silica for grip, ensuring a thickness of at least 1.2 millimeters. The system blends adhesion, cleanliness, and long-term performance.
Pre-construction verification begins with documentation. All paints should arrive with factory certificates, test reports, and environmental certifications. VOC limits must be respected: water-based paints should stay at or below 100 g/L, while solvent-based paints may be up to 420 g/L. Antibacterial paints, when used, require third-party lab reports confirming durable efficacy for years. This diligence protects workers and customers and helps ensure compliance with local food-service vehicle regulations. The material checks extend to compatibility with existing surfaces and the environmental controls in the workspace, ensuring the area can sustain the required temperatures and humidity levels during curing. The plan anticipates emergencies, including ventilation failures or unexpected weather, so the workflow remains adjustable while safeguarding health and the finish’s integrity. The protocol also requires traceability, so every batch is logged by date, lot, and area.
Surface preparation defines success more than any other step. Begin with thorough cleaning using neutral detergent to remove grease, dust, and residues. For metal surfaces, address rust by applying remover and sanding oxidation with 80–120 grit paper. Progressively smooth the surface with finer grits to 400 to create a uniform base. Phosphating, when used, adds a zinc-based layer to improve adhesion and corrosion resistance. Masking becomes the next ritual: cover windows, seals, lights, handles, grills, and vents with 200 μm polyethylene film and high-temperature tape; seal edges tightly to prevent overspray. Detachable parts should come off before painting. The goal is to leave edges and seams ready for primer, free of dust, oil, or stray grit that could undermine adhesion. Additionally, ensure the edges around doors and windows receive the same protection to prevent edge delamination.
Base coat application begins the real work. For exterior surfaces, apply epoxy zinc-rich primer with an airless or HVLP system, keeping the nozzle about 15 to 20 centimeters from the surface. Allow 2 to 4 hours for the first coat to dry, then lightly sand with 240–400 grit. The topcoat goes on with a steady technique: move the spray evenly, at 30–50 cm/s, and maintain a uniform distance of 15–20 centimeters. Apply two to three thin coats, letting each layer dry 5–10 minutes before the next. This approach minimizes runs and sags while building depth and protection across curves. Always check for even coverage on curved surfaces with a light run test.
Topcoat technique continues with interior walls and work surfaces. The interior finish should be seamless, cleanable, and resistant to moisture and microbes. The water-based epoxy primer must provide strong adhesion, and the antibacterial topcoat must maintain efficacy after cleaning. For worktops, aim for a 1.2 mm thickness with an anti-slip texture. To achieve texture, sprinkle fine silica into the wet coating or blend an anti-slip additive into the final layer. The curing environment remains critical: maintain proper temperature and humidity and avoid rapid drying that could cause cracking. When designing logos or murals, plan masking and layering to prevent color bleed and ensure crisp edges. For murals, keep test patches to confirm adhesion before full coverage.
An optional clear coat can boost exterior durability and color retention. If used, apply two to three ultra-thin layers of clear polyurethane, with about ten minutes between coats and a full cure of 24 hours or a short bake for water-based systems. The choice depends on whether a matte or gloss finish aligns with the brand. Curing conditions matter: target 20–25°C and 50–70% humidity, avoiding direct sun. After cure, inspect for pinholes, bubbles, or peeling, and confirm adhesion with a tape pull test. A pencil hardness check can verify surface hardness and confidence that the finish will survive street service. Document cure times with a simple log and note any environmental excursions.
Safety and environmental considerations run through every stage. Work in well-ventilated spaces or a spray booth to control fumes and dust. PPE matters: respirators, gloves, safety glasses, and coveralls should be worn. Store and handle solvents away from open flames, and plan for proper waste disposal of empty cans, rags, and used materials per local regulations. Post-paint maintenance follows: clean with mild soap and water, avoiding harsh chemicals, and re‑inspect for chips or scratches. Small chips should be touched up promptly to prevent rust and to sustain the truck’s professional appearance over time. Establish spill kits, proper waste containers, and a clean, organized work area.
To connect practical experience with community insight, consider reading practical workflows discussed in industry blogs, such as Latinos Food Trucks Blog 2, which offers accessible perspectives on maintenance and branding. For broader context on painting workflows and project scope, the narrative aligns with established best practices and the emphasis on food-safety compliance and durability. These references complement the standards described here, helping readers translate theory into an on-the-ground routine.
Ultimately, the painting of a food truck is an integrated act of care and design. The finish must endure service heat, road salt, and daily cleaning while reflecting a brand that invites customers to taste and discover. When the prep, materials, technique, and checks align, the truck becomes more than a mobile kitchen; it becomes a moving billboard, a durable workspace, and a trusted partner in a food entrepreneur’s growing business. External resource: How to Paint a Food Truck.
Curing, Quality Control, and Maintenance: Ensuring Food-Safe, Durable Finishes for a Rolling Kitchen
The moment the last spray dries on a food truck, the work shifts from applying color and protection to preserving it. Curing, quality control, and ongoing maintenance form a continuous loop that keeps a rolling kitchen hygienic, durable, and visually appealing under the constant demands of mobile service. The post-paint phase is not an afterthought but a critical stage that determines how well the vehicle withstands weather, cleaning regimens, and the occasional bump of everyday use. The paint system you chose already carries the performance you need, but it is the way you manage curing and monitor quality that seals the coating’s long-term integrity. In many ways, this phase translates the design choices made in the shop into practical resilience on the road, where surfaces touch food, encounter moisture, and face sun and salt spray. A well-executed curing plan also smooths the path for efficient maintenance, reducing the risk of contamination and the need for costly rework later in the life of the truck.
Curing is the quiet but essential final act of painting. Different coatings cure by different mechanisms, and the environment during cure can either support or sabotage the process. Epoxies and polyurethanes, common choices for food trucks, gain their ultimate hardness and chemical resistance only when allowed to cure under controlled conditions. A typical window of 24 to 72 hours emerges as a practical guideline, but the exact duration depends on the product chemistry and the ambient conditions. In a dry, warm room with stable humidity, the film breathes and crosses over into its final state more reliably. Too much humidity can trap moisture beneath the film; excessive heat or direct sunlight can cause uneven drying, leading to appearances such as sags or microcracking. This is why good practice emphasizes a stable, dust-free environment. A closed spray booth or a well-ventilated, sheltered space can offer the ideal balance, protecting both workers and the coating system from contaminants and premature exposure to environmental stressors.
Beyond simply waiting, curing requires an eye for process if the goal is a truly compliant, hygienic finish. A cure meter or an adhesion tester is not decoration but a practical instrument for confirming that a coating has achieved sufficient hardness and bond strength before any heavy use begins. The emphasis is especially strong for interior walls, countertops, and prep surfaces that come into contact with food or cleaning agents. When the post-paint phase centers on food safety, the interior surfaces must be verified as non-toxic and FDA-compliant, not just visually uniform. The careful inspection extends to the exterior as well, where UV exposure and salt spray can gradually erode coatings if their cure has been compromised. A simple, disciplined routine—visually inspecting for pinholes, runs, or sags and then performing a tape pull test to confirm adhesion—creates a foundation for reliable service. The color and texture uniformity, the absence of burrs after sanding primer, and the smooth transitions at joints give away a painstaking attention to the details that nonetheless remain invisible to the casual observer when the truck is parked and serving.
Quality control in this post-paint window is not a single act but a sequence of checks that begins with the basic surface integrity and moves toward final readiness for customer service. After a primer has dried, a light sanding with fine-grit paper helps remove burrs and ensures that the topcoat has a clean, receptive surface. Then the topcoat is applied with a careful technique that emphasizes consistent thickness and smooth flow. The goal is to avoid over-application that can lead to runs and sags, and to ensure the film builds without creating stress points that could crack later under flexing and vibration. The methodical, almost meditative rhythm of spray technique—maintaining a steady distance, using overlapping passes, and allowing short intervals for initial cure between coats—translates into a robust, uniform finish that stands up to repeated cleaning and wipe-downs. This is particularly important for the work surfaces and prep zones where contact with food is constant. A final layer of protection, such as a clear coat on exterior panels, should be considered only if it aligns with hygiene and maintenance realities. The choice to apply or omit a clear topcoat must be weighed against the potential for easier cleaning versus the added resistance to UV exposure and abrasion.
Maintenance after curing completes the circle by translating factory-grade performance into day-to-day reliability. Regular, non-abrasive cleaning helps preserve the coating without accelerating wear. Harsh chemicals or aggressive cleaners are a risk to the bond and the integrity of the surface, especially along edges and around joints where the sealant and coating interface can be more vulnerable. A pH-neutral cleaner becomes a partner in keeping colors even and textures intact, while a soft cloth or sponge prevents micro-scratches that over time accumulate into visible dullness or micro-cracking. Maintenance routines should become a natural part of the truck’s operating schedule, not a separate maintenance day. Weekly checks offer a practical cadence: a careful walk around the vehicle to inspect wheel wells, door seals, and undercarriage areas where moisture and mild abrasion are more likely to occur. If any chipping or peeling is observed, a prompt touch-up using the same product and application method is essential to maintain both protective functions and the hygienic appearance of the kitchen surfaces.
The narrative of ongoing care also includes planning for re-coating in high-wear zones. While a properly cured coating provides robust resistance, the dynamic environment of a food truck guarantees that some zones will gradually wear more quickly than others. High-traffic prep zones and edges near the serving window deserve particular attention in the maintenance plan. A strategic re-coating schedule, aligned with the truck’s service calendar, helps prevent rust and degradation from advancing unchecked. If portions of the exterior endure frequent spray from wind-driven moisture or coastal salt, the decision to refresh with an updated topcoat or an additional protective layer should be integrated into budgeting and maintenance workflows. In any case, the reapplication must follow the same fundamental discipline as the original process: ensure surface preparation is thorough, employ the same primer and topcoat system, and maintain cleanliness during both application and cure.
A key thread running through curing, quality control, and maintenance is the adherence to safety and regulatory standards. The interior walls and prep surfaces, being in direct contact with food or prepared foods, require coatings that are not only durable but non-toxic and compliant with food-safety regulations. Third-party certification for antibacterial paints—when used on interior walls in high-humidity environments—adds an extra layer of protection, provided the durability exceeds five years. When in doubt, consult the documentation that accompanies every product: factory certificates, test reports, and environmental certifications are not mere paperwork but proof that the coating system will behave as intended under real-world conditions. For the truck operator, this translates into a straightforward discipline: do not cut corners on curing environments, do not substitute incompatible materials during maintenance, and do not neglect the post-paint checks that confirm the vehicle is ready to sail. This is where the practical meets the principled, and where the rolling kitchen earns the trust of health inspectors, customers, and the crew who keep the service running.
As the day advances and the truck settles into service, the impact of these choices becomes evident in the rhythm of routine. The surfaces respond consistently to cleaning, the colors retain their depth, and the texture on worktops provides a safe, tactile contrast that supports efficient workflow. The chain of care—from the controlled curing room to the weekly checks, from quick touch-ups to planned recoats—creates a tractable, predictable maintenance arc that supports a business built on reliability as much as flavor. For operators juggling thousands of tasks, this disciplined approach to post-paint life reduces downtime and avoids the disruptions that blemishes or failures can cause during a busy service window. In the end, the rolling kitchen is not just about how it looks; it is about how it endures, how it remains compliant with food-safety expectations, and how it continues to perform in the long arc of daily operation. The chapter of curing, quality control, and maintenance closes with a confident readiness to serve, grounded in the knowledge that every coat has earned its keep through careful execution, conscientious testing, and thoughtful, ongoing care. If you want a broader view on how these maintenance routines fit into a trader’s life and responsibilities, consider the ongoing conversation about work-life balance for food-truck entrepreneurs. Work-Life Balance for Food-Truck Entrepreneurs.
External reference for hygiene and handling standards provides further depth to this practice. For rigorous food-safety guidelines that relate to coating and surface use in contact areas, consult the U.S. Department of Agriculture’s Food Safety and Inspection Service guidelines: https://www.fsis.usda.gov/food-safety/safe-food-handling-and-preparation-tips
Final thoughts
Rolling paint on a food truck is not merely a cosmetic endeavor; it encapsulates the intersection of artistry, compliance, and functionality. Whether you’re a hobbyist or a professional, understanding the intricacies of each phase from preparation to execution allows you to elevate the vehicle’s aesthetic and ensure it meets necessary hygienic standards. By applying the insights shared in this guide, you will not only achieve a breathtaking exterior for your food truck but also reinforce the core values of safety and durability against the elements. A beautifully painted truck can draw in customers, enhance your brand, and create a lasting impression—master this art, and watch your culinary venture thrive.