
Why Motorcycle Fairing Paint Match Matters Before You Order a Panel
A motorcycle fairing paint match means getting a replacement panel’s color, metallic flake orientation, and finish to line up with the factory bodywork still on the bike. Picking a shade that looks close is not the same thing. A real match starts with the exact color code and accounts for the clear coat, the number of coats in the factory finish, and how the original paint has aged.
The color code comes first. Manufacturers use it to define a precise pigment recipe, and small variations in that recipe show up as a different tone in sunlight. The clear coat matters too, because gloss and UV resistance shift from one production run to the next. Most manufacturers do not publish clear coat batch data, so unless you can find it on the bike or the original can, the practical check is a sprayed sample. Confirming the code, and the batch where it exists, before you order saves you from a panel that never quite matches and a second trip to the shop.
Skip that step and you tend to get one of three results. A visible tone mismatch, where the new panel reads as a different shade than the rest of the bike. Panel-to-panel sheen differences, when the clear coat’s gloss does not line up with the original finish. Or a repaint bill, because the mismatched part has to be stripped and sprayed a second time.
The sections below cover where the code lives, what the numbers mean, and how to check a replacement panel before you install it.
How Motorcycle Paint Color Codes Are Structured
Every factory finish traces back to a paint code, usually on a sticker under the seat, inside the trunk, or behind a fairing panel. That short string of letters and numbers is the manufacturer’s own recipe for the shade your bike wore on the showroom floor.
A typical OEM paint code breaks into three parts: a manufacturer-specific prefix, a base color identifier, and a variant or shade suffix. The prefix identifies the brand and the paint system, so a painter knows which mixing bank or formula book to pull. The base identifier names the family, like a deep candy red or a metallic pearl white. The suffix pins down the exact shade inside that family.
The suffix is the part owners overlook. Factories tweak a single color across model years, so two bikes can share the same base name yet carry different variants that look noticeably off side by side. A good shop verifies the variant before it orders a fairing panel or mixes a batch.
- Manufacturer prefix: identifies the brand and its paint system, so a painter knows which mixing bank or formula book to pull.
- Base color identifier: names the broad color family, such as candy red or pearl white, giving the shop its starting point.
- Variant or shade suffix: pins down the exact shade within that family, which is where most color match failures happen.
- Model year code: links the paint code to a specific production year, since factories quietly shift shades between seasons.
- Paint type notation: signals whether the finish is solid, metallic, pearl, or candy, and each needs a different base and mid-coat.
- Clear coat specification: tells the painter which topcoat and gloss level the OEM paint received at the factory.
- Batch or lot reference: helps match the clear coat batch so a new fairing panel blends with the rest of the bike.
Where to Find Your Motorcycle Color Code Plate
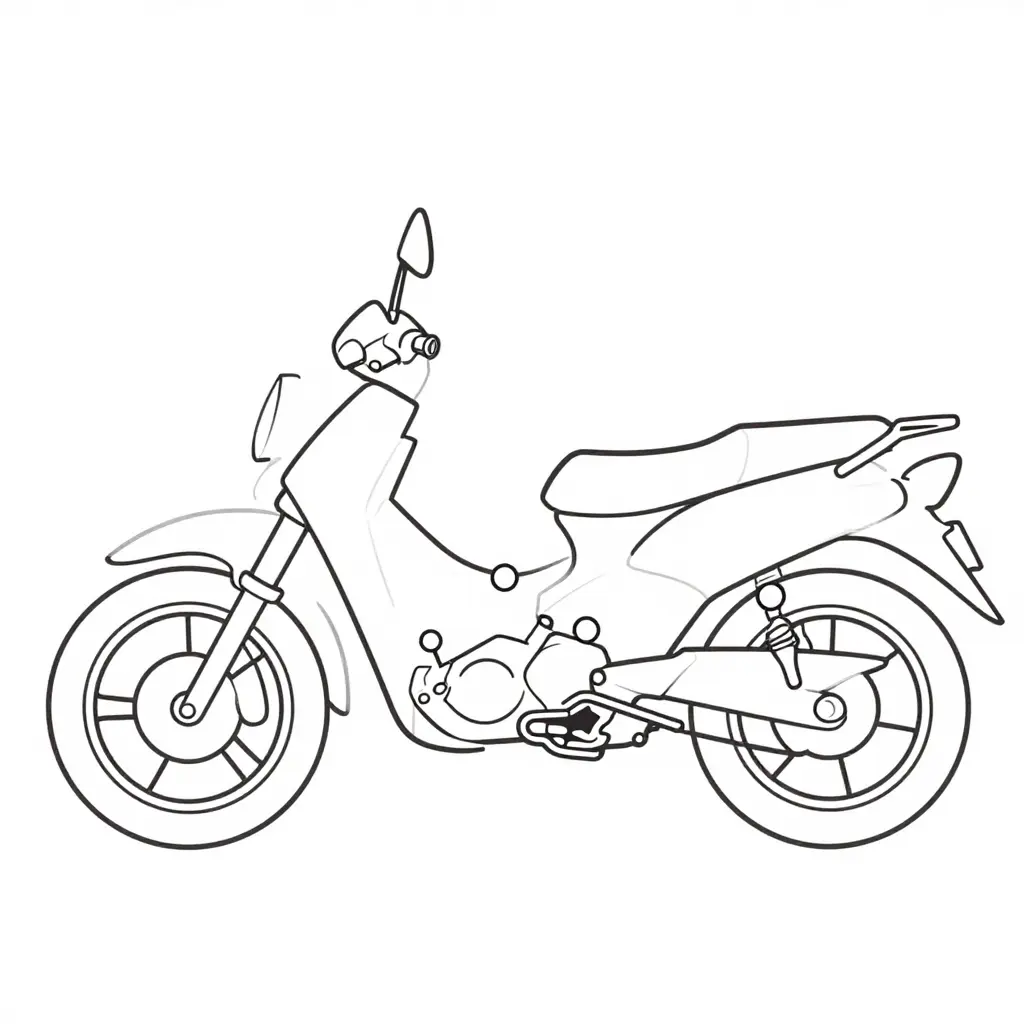
Before you order a replacement panel, the fastest way to lock in a factory-accurate match is to read the paint code straight off the bike. The code plate or sticker hides in a handful of predictable spots, and knowing them can save you from pulling the whole fairing apart. The schematic below maps the four most common locations where manufacturers tuck that plate or decal away.
The Four Common Locations
- Under the seat – Pull the seat first. This is the single most reliable spot, and manufacturers count on owners never lifting it during a quick walk-around.
- On the frame head tube – Look on the tube just behind the front fork, below the handlebars. This spot often carries both the VIN and a paint or model trim code.
- Inside the storage compartment – The under-seat or rear storage cubby frequently hides a sticker on the inner wall, protected from sun and road grit.
- Under the side panel – If the first three come up empty, the side fairing or side panel usually conceals a tucked-away decal.
Reading the Diagram
Work from the easiest point of access outward, starting with the seat, and photograph any code you find before you reassemble anything. A clear photo of the plate, plus the VIN, gives your paint supplier or shop everything it needs to pull the right formula.
A Quick Note on Clear Coat Batch
The paint code is not the only thing worth recording. On older bikes the factory clear has aged and yellowed, and a fresh clear coat will read brighter than the rest of the bike. If a clear coat batch is stamped or printed anywhere on the bike or on the original can, note it alongside the color code so the painter knows how the factory topcoat was mixed. When there is no batch record, expect a spray-out test to account for the aging.
Locating the Color Code on Your Specific Motorcycle
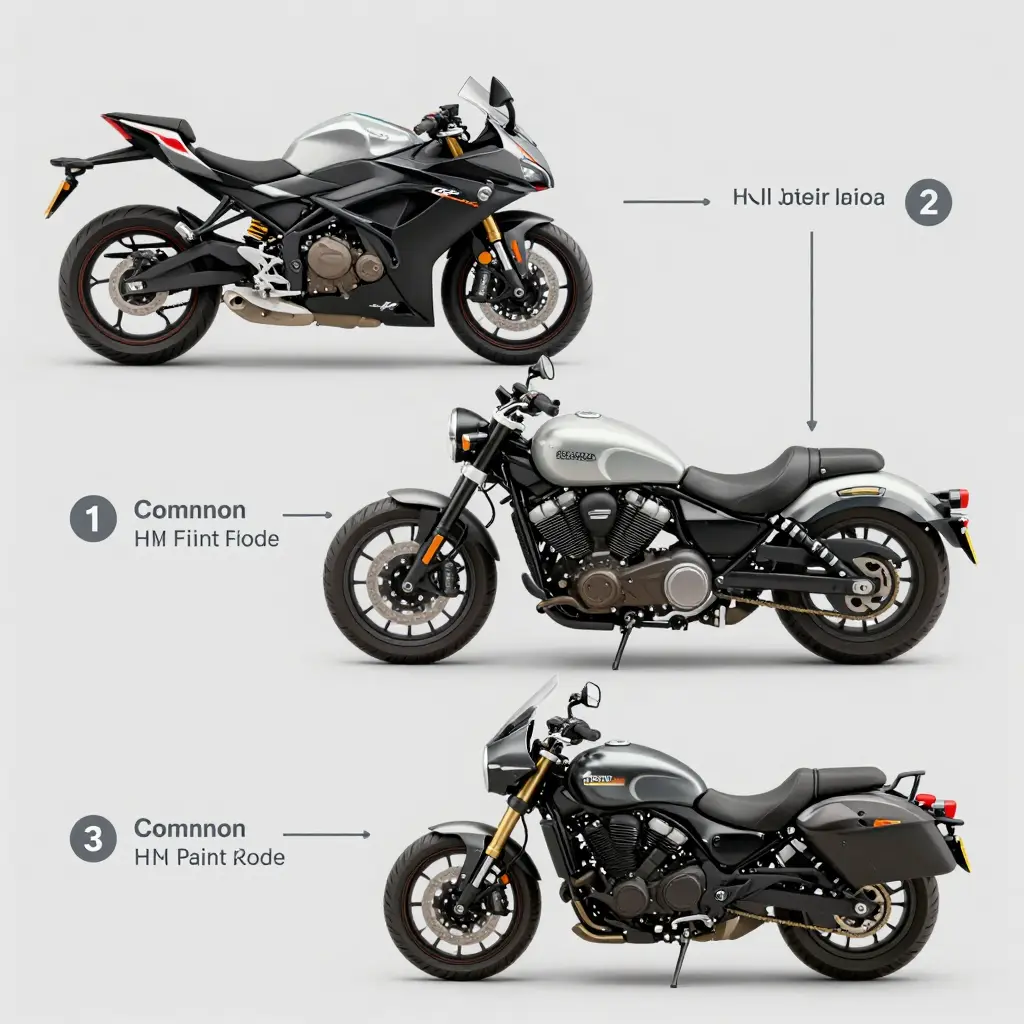
Where the factory paint code lives depends on the model you ride. Riders who skip the search end up with a panel that almost matches, which is harder to live with than an obviously wrong one because it still costs the same to fix.
Start with the usual suspects. On most machines, the OEM paint code plate or sticker sits under the seat, on the steering head (frame neck), inside the fuel filler door, on the swingarm, or beneath a side cover. Check all of them before you order.
Location shifts by category. Sport bikes often tuck the plate under the seat or on the frame headstock, and they sometimes stamp it inside the fairing itself. Cruisers, with more exposed metal, tend to show it on the frame downtube or under a side panel. Touring models frequently keep it on the frame, inside a saddlebag, or near the VIN plate on the steering neck.
One trap: the sticker on the bodywork may not match the frame label. Previous repairs, aftermarket panels, or a repaint can leave a fairing tag that lies. For a genuine motorcycle fairing paint match, only the manufacturer plate is authoritative, so treat every other label as a hint rather than a fact.
Record the OEM paint code and any clear coat batch reference before you order.
One minute of writing prevents a costly mismatch.
A good fairing repaint starts with what the factory stamped on your bike, long before anyone picks up a spray gun. The table below breaks down how the world’s biggest motorcycle makers format their color codes and whether they also record a clear coat batch, so you can verify a match before you order a panel.
| Manufacturer | Typical Color Code Example | Code Location | Clear Coat Batch Stamped? | Recommended Verification Method |
|---|---|---|---|---|
| Honda | NH-series (e.g., NH-A16M) | Under-seat data sticker or frame head tube | No | Cross-check VIN paint chart with dealer microfiche |
| Yamaha | Model/color combo (e.g., DPBMC, 0980) | White label under tank or seat | No | Confirm via Yamaha parts fiche by model year |
| Suzuki | Three-letter code (e.g., YBA, YMF) | Frame downtube sticker | No | Dealer parts lookup using frame number |
| Kawasaki | Numeric color ID (e.g., 617 Lime Green) | Left frame side near VIN plate | No | Kawasaki parts diagram plus physical sample chip |
| Harley-Davidson | Three-digit number (e.g., 749) | Frame head tube or swingarm tag | Sometimes (some CVO batches) | HD dealer VIN-based paint code lookup |
| BMW Motorrad | Numeric code (e.g., 300) | Under seat near battery box | Yes (batch on select panels) | BMW ETK system query by VIN |
| Ducati | PPG/manufacturer code (e.g., 235.9) | Underside of tank or seat unit | Rarely | Ducati dealer by VIN plus physical sample |
| Triumph | Alpha or numeric tag (e.g., PAG, 2xx) | Frame headstock label | No | Triumph parts catalog matched to VIN |
Read the table as a verification checklist rather than a paint recipe. The “Typical Color Code Example” column only shows the format each maker uses, not the exact value for your specific bike, so always match it against your own VIN. If the “Clear Coat Batch Stamped?” column says yes, photograph that stamp before ordering. But in most cases there is no batch record to find, which is why the recommended verification method matters: request a physical sample chip and judge it under real daylight.
Decoding the Clear Coat Batch Number
A clear coat batch number is a unique code assigned to one specific production run of clear coat at the factory. Every time a manufacturer mixes a fresh vat of clear, that run gets its own number, which records exactly which mix, on which day, produced the can in your hand.
Why Batches Behave Differently
Even with an identical formula, tiny variations creep in between runs. Humidity on the mixing floor, raw resin lots, solvent purity, and curing temperature all shift slightly, and those shifts change how the clear flows, levels, and dries. As a result, two cans of supposedly “identical” clear can finish at a noticeably different gloss level and yellow at different rates under UV. One batch may cure to a deep, mirror-like shine; another may look a touch flatter or turn amber sooner.
Why It Matters When You Order a Panel
When you order a panel, the clear on that new fairing is sprayed months or even years after your original paint. If the batch does not match, the panel sheen can drift away from the rest of the bike, and it shows up fast in direct sunlight or under gas-station fluorescents. That mismatch is usually the first thing an owner notices.
How to Read a Batch Stamp
Batch stamps usually appear as a printed code near the bottom rim of the can, on the lid, or on a side label. They often look like a string of letters, numbers, and a date code, for example “CC2211-A.” Photograph it and write it down before you order anything.
The practical rule: record the clear coat batch from your original can before ordering a replacement, then ask the supplier to use the same batch if it is still available. If it is not, a spray-out card on the same material is the next best check.
What the Numbers Tell You
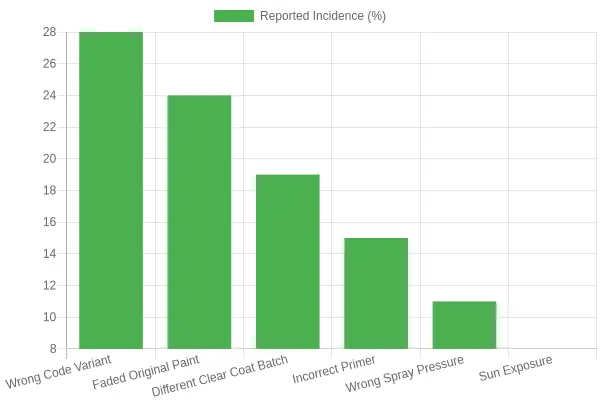
The chart ranks the most common reasons a freshly painted fairing panel fails to match the rest of the bike. Wrong code variant (28%) and faded original paint (24%) lead the pack, so check those two first: confirm the exact variant and judge how much your original paint has faded before you commit to a panel. Clear coat batch, primer, and spray pressure account for most of the rest, and verifying them saves you from chasing the same causes twice.
Pre-Order Fairing Panel Checklist
Paint mismatches rarely happen because a supplier is careless; they happen because a rider skipped a step. The order matters. Confirm the exact paint code before you compare finishes, record the clear coat batch before you trust a swatch, and photograph the original in daylight before color gets distorted by garage bulbs. Jump around, and you risk ordering a panel that looks wrong the moment sunlight hits it. Done in sequence, a locked order becomes repeatable, so every fairing panel matches the bike the first time instead of the third.
- Record the OEM paint code straight from the factory sticker, VIN plate, or service manual – never guess it from a photo.
- Note the model year and fairing generation. A single year can span two body styles, and the shapes do not interchange.
- Photograph the original fairing panel in daylight, at several angles, with a grey card or white sheet for color reference.
- Log the clear coat batch printed on the label, since gloss and UV aging can shift between batches.
- Confirm the panel’s factory color name and finish (solid, metallic, pearl, or matte) before you compare anything.
- Verify the supplier’s color options and ask whether they spray from your code or match visually.
- Request a sprayed swatch on the same material so you can judge it under real light.
- Check gloss and sheen level against your factory finish, not just the base color.
- Match mounting points and hardware so the new piece bolts straight on without drilling or shimming.
- Save every photo, code, and note in one folder so the record travels with the job if you order a panel again later.
Repeat this sequence for every panel. Paint codes and clear coat batches can vary between production runs, trim levels, and even individual fairing panels, so do not treat the checklist as a one-time task.
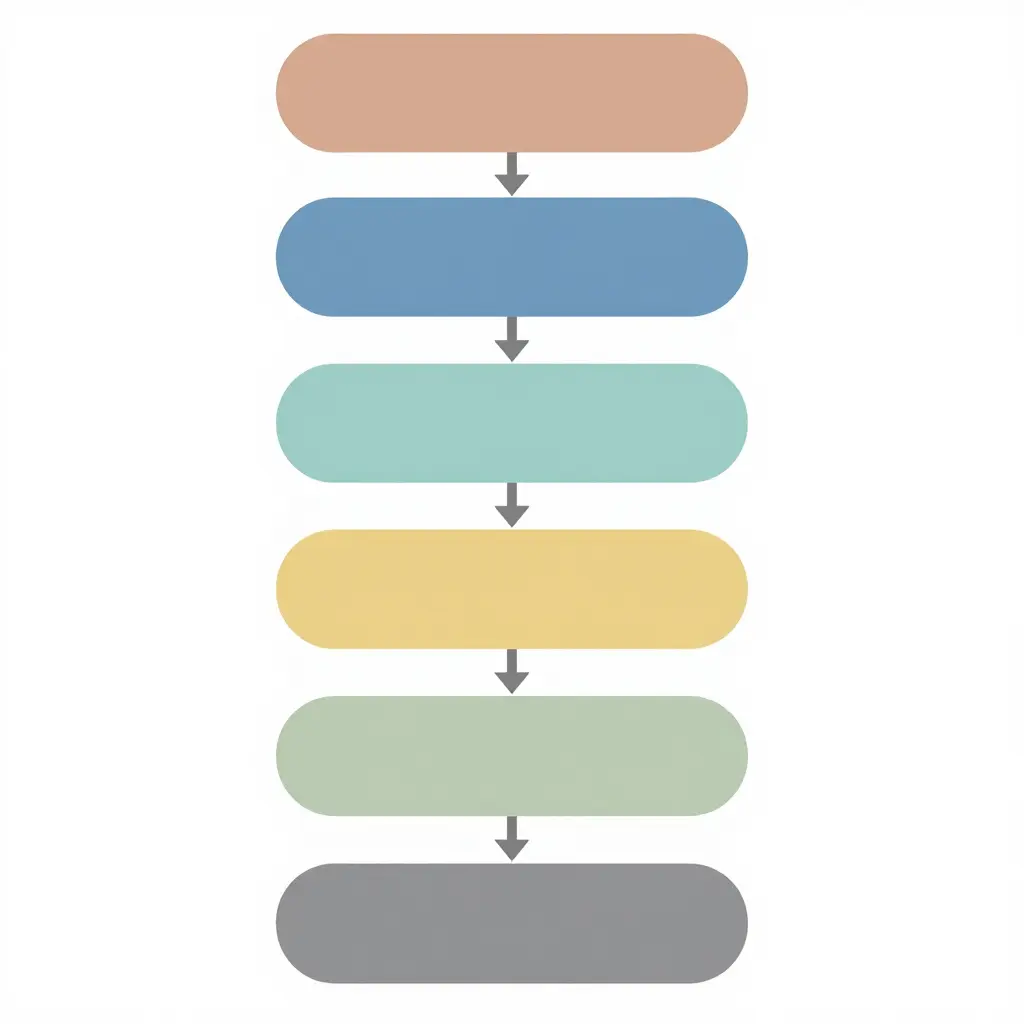
The flowchart reads top to bottom: locate the color code, record it, read the clear coat batch, compare the findings against the original panel, confirm the details with the supplier, and only then place the order. The checklist above expands those six steps into the tasks worth completing before money changes hands.
Common Mistakes That Cause Panel Mismatch
A good motorcycle fairing paint match starts with the manufacturer’s label, not a photograph. Many owners snap a picture of the bike and send it to a supplier, but photos distort tone and gloss under different light, so the result rarely matches. Find the sticker on the frame or under the seat and read the code before ordering. The code, not the picture, gives the supplier the exact factory formula.
Ignoring the variant suffix is the next common error. Factory codes often carry extra letters or numbers that mark a specific year, plant, or trim, so two bikes may share a base code but use different variants. Copy the full code, including the suffix, so the color match lands on the first try.
Mixing clear coat batches can cause a visible mismatch even when the base color is right, because clear coat formulas shift slightly between production runs. Order base and clear from the same batch whenever possible, and record the batch number for future panels. If you must mix batches, spray a test card first and compare it in daylight.
Painters also forget UV fading on the original paint. Sun exposure darkens or lightens a panel over years, so the factory formula no longer matches the surface on the bike, and a fresh batch looks off against faded neighbors. Blend into adjacent panels or tint the mix to account for the fading before you commit to a full respray.
Verifying Your Panel Before Installation
When your fairing panel arrives, inspect it the same day and before any tools come out. Shipping stress, storage heat, and handling can all affect a finished surface, and problems are easier to document early.
Start with color. Take the panel outside and compare it to your bike under indirect daylight, never under garage fluorescents or direct sun. Indirect light shows the true hue and any drift in the color match that indoor lighting hides.
Then confirm the clear coat batch. Check the batch code printed on the order confirmation against the label on the panel or its paperwork. If the numbers differ, the finish may not blend with your existing paint.
Next, test-fit the panel on the bike without tightening any fasteners. Gaps, misaligned mounting holes, and uneven edges usually show up here.
Document problems before you drill, not after. A photo taken on arrival is persuasive; a photo taken mid-installation is not.
Photograph every discrepancy and email your supplier within the stated window. If you order a panel and skip verification, you may lose your return options. Verifying first keeps them open.
Cost Comparison: Repaint vs Replace vs Pre-Painted Panel Order
Repainting, replacing, and ordering a pre-painted panel each solve a different problem at a very different price point. The table below compares typical costs, turnaround times, color match reliability, and the situations each option handles best.
| Option | Typical Cost Range | Turnaround Time | Color Match Reliability | Best Use Case |
|---|---|---|---|---|
| Local single-panel repaint | $150 – $400 | 2 – 5 days | Medium – depends on painter skill and access to the original color code | Small scuffs or scratches on one fairing piece |
| Full motorcycle repaint | $800 – $2,500 | 1 – 3 weeks | High with a skilled pro, low with budget shops | Restoring a classic or changing color entirely |
| OEM factory-painted panel | $250 – $700 | 3 – 10 days (plus shipping) | Very high – exact factory color code and clear coat batch | Insurance repairs on late-model bikes |
| Pre-painted panel from an established exporter | $80 – $250 | 1 – 2 weeks (shipping included) | High when color code and clear coat batch are verified before ordering | Value-focused owners replacing cracked or faded fairings |
| DIY rattle-can touch-up | $20 – $60 | A few hours | Low – hard to match clear coat batch and metallic flake | Tiny rock chips and quick temporary fixes |
The takeaway. The best option depends on who you are and what you need. For owners chasing the lowest total cost, ordering a pre-painted panel from an established exporter often beats a local full repaint, because the factory color code and clear coat batch are matched for you at the source. Repair shops and custom painters tend to favor local repainting when precision and fast turnaround matter most, but they still keep value-oriented buying front of mind – as a good look at quality and pricing insights shows – to protect their margins on high-volume jobs. Custom painters, meanwhile, should treat any panel as a starting canvas and confirm the clear coat batch before spraying so their final finish blends with the rest of the bike.
Frequently Asked Questions About Fairing Paint Match
Got questions about getting a replacement fairing to blend with the rest of your bike? These are the ones owners, shops, and painters ask most often.
Where can I find the color code for my motorcycle fairing?
The easiest place to start is the manufacturer’s identification plate, usually located under the seat, on the steering head tube, or inside the storage compartment. On most Japanese and European bikes, a small sticker or stamped plate lists a paint code right next to the model number. If the sticker is missing or worn, check the owner’s manual or contact a dealership with your VIN. The code identifies the base color only, not any topcoat, metallic flake, or pearl additives that sit on top of it.
Does the clear coat batch really matter?
Yes, though for gloss and aging more than for color. Clear coat controls gloss, UV protection, and how light reflects off the surface, so a different batch can make the same base color read slightly darker, warmer, or more yellow. For a close motorcycle fairing paint match, experienced painters either use the same clear coat batch or run a controlled spray-out test before committing to the whole panel.
Is a photo enough to match my paint?
A photo alone is not enough to guarantee an accurate match. Cameras, lighting, white balance, and screen calibration all distort color, so a picture can look perfect on one phone and completely wrong in person. Photos are still useful for a rough estimate or for identifying a general color family, but they cannot capture metallic flake size or pearl depth. A reliable motorcycle fairing paint match always relies on the actual paint code combined with a physical sample or spray-out panel.
How do I handle a faded original panel?
Faded paint is one of the trickiest problems, because a new panel will match the factory color, not the sun-bleached version sitting on your bike. Have a painter read the current faded shade and tint a custom mix that blends with the surrounding panels, or polish and restore the existing panels first so they sit closer to the original tone. Since aging, oxidation, and UV exposure all change the surface over time, some degree of blending is usually unavoidable.
What if the paint code has multiple variants?
Many manufacturers list several variants under the same code because the color shifted slightly between model years or production plants. Ask your dealer or painter to confirm which variant applies to your bike’s VIN and build date. Paint suppliers often provide variant chips, small physical samples you can hold against your fairing in natural daylight. Choosing the wrong variant is a common reason a motorcycle fairing paint match looks off, so verifying it before you order a panel saves both time and money.
How long does a color-matched panel order take?
Turnaround for a color-matched panel usually ranges from one to three weeks, depending on the supplier and whether a custom mix is required. A ready-to-spray factory color is the fastest option, sometimes shipping within a few days. Specialty pearls, tri-coats, and custom tints add several extra days to the schedule. If you order a panel during peak riding season, expect the longer end of that range.
Quick reference summary
| Question | Short answer |
|---|---|
| Where is the color code? | ID plate under the seat, steering head, or storage box |
| Does clear coat batch matter? | Yes, it shifts tone and gloss |
| Is a photo enough? | No, use code plus a physical sample |
| Faded panel? | Get a custom tint or restore the existing panel |
| Multiple variants? | Confirm by VIN and compare variant chips |
| Order lead time? | One to three weeks, longer in peak season |
Ordering a Fairing Panel With Confidence
The one thing that protects your finish is verifying the details before any money changes hands. A true motorcycle fairing paint match never happens by luck; it happens when you slow down and confirm what the factory actually sprayed onto your bike. Reading the color code and the clear coat batch record together tells you the pigment blend and the protective layer your machine left the line with, so your replacement arrives ready to blend instead of ready to repaint.
The workflow is short. Locate and decode the paint code stamped on your frame or service sticker. Cross-check the clear coat batch so the finish chemistry lines up with your original. Order a panel only once both numbers align with your chosen supplier’s records.
Buyers can source panels through a motorcycle fairing export site offering over 3,000 styles across nearly all motorcycle models, with prices typically 10 to 40 percent lower than comparable sites and a reply to any question within six hours. When you compare quality and pricing before you buy, the savings and the certainty tend to compound in your favor. Confirm the codes, trust the batch, and ride away with a finish that finally looks factory-correct.